
It’s not difficult to drill holes in materials, as long as you know how to do it. This training will go through the fundamentals of power drills and methods for drilling small and large holes. Drilling with moving SDS Drill Bits, incorrect holes, and tear-out are all possible problems. At the conclusion of this class, you’ll be an expert in hole drilling.
This fundamental woodworking technique will be utilized in almost every project you create, and with some practice, it’ll soon become automatic. The majority of this session may be used for both corded and cordless power drills; however, I’ll only use a cordless drill in this lesson.
Tips for drilling holes
Drilling holes in various materials may not have gotten a lot of attention during your DIY career. However, if you don’t have the correct tools or skills, it might bring your project to a halt. We’ll go over how to drill different types of holes in various materials here:
- Get a basic drill bit set. It’ll come in handy for almost every project. Determine the size of your drill before purchasing a drill bit.
- A pilot hole is simple and typical, utilising a pilot drill bit.
- Choose a drill bit with the same diameter as the screw you’ll be using.
- The diameter of the hole they create is taken into account when selecting spade bits.
- A spade bit is similar to a speed bore bit, but it also includes an auger that aids in the waste removal process.
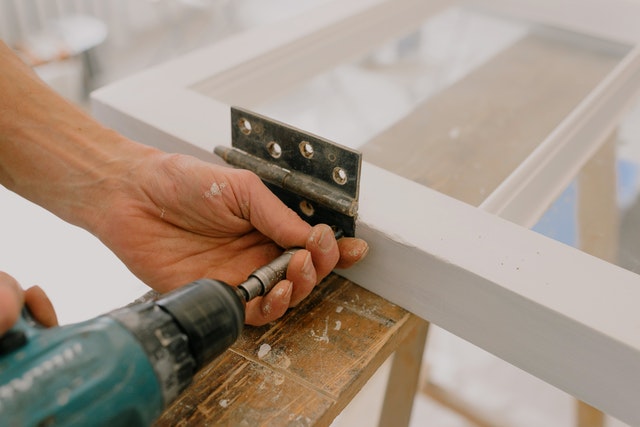
- A Forstner bit may also be utilized to create more accurate holes with flat bottoms. It’s great for a countersunk cabinet hinge or concealing the hole with a plug.
- The Bosch hole saw is a popular choice for drilling entrance holes through doors where the lockset will be installed, as well as bigger holes in wood. An access hole for a birdhouse is another alternative.
- A masonry bit is required if you’re drilling through brick or concrete. Allow for a delay while the drill penetrates the material.
- For drilling through tile, a tile bit is required.
How to make a clean hole without making a mess
I like doing home renovation projects; the only part I hate is the planning and cleanup stages. Finding an extension cord, as well as the right bit for a drill, and cleaning up afterwards are all things that take me down. As a consequence, I am in love with this simple hack for doing away with the time-consuming cleanup after every hole so that I may hang something on the wall.
You may simply use a regular envelope to collect the dust. When you make a hole in the wall, particles from the wood, plaster, or sheetrock might fall on the floor below. To prevent the slip-up, start with a simple envelope. Turn it into a pocket by unfolding it and opening it up. To prevent the dust from blowing out of the hole, attach the flap to the wall just below where you wish to make your puncture. When you drill, shavings and dust will fall into the envelope for simple removal.
The beauty of it is that you won’t have to look for a vacuum or a broom and dustpan!

Leave a Reply